No products in the cart.
A Guide to Creating Custom Die-Cast Models of Your Car
Die-cast model cars are a popular hobby for automotive enthusiasts, allowing them to collect and display detailed replicas of their favorite vehicles. While there’s an extensive market for pre-made die-cast models, many car lovers prefer the satisfaction of creating custom models of their own cars. In this article, we’ll walk you through the step-by-step process of creating custom die-cast models of your own vehicles, including essential tips on selecting the right scale, materials, and tools.

Step 1: Choose the Right Scale
The first crucial decision in creating a custom die-cast model of your car is selecting the appropriate scale. Scale refers to the ratio of the model’s size to the size of the actual vehicle. Common scales for die-cast models include 1:18, 1:24, and 1:64.
To choose the right scale, consider your available space for display and your budget. Larger scales provide more detail but also require more space and can be pricier. Smaller scales are more affordable and space-efficient but may have less intricate detailing.
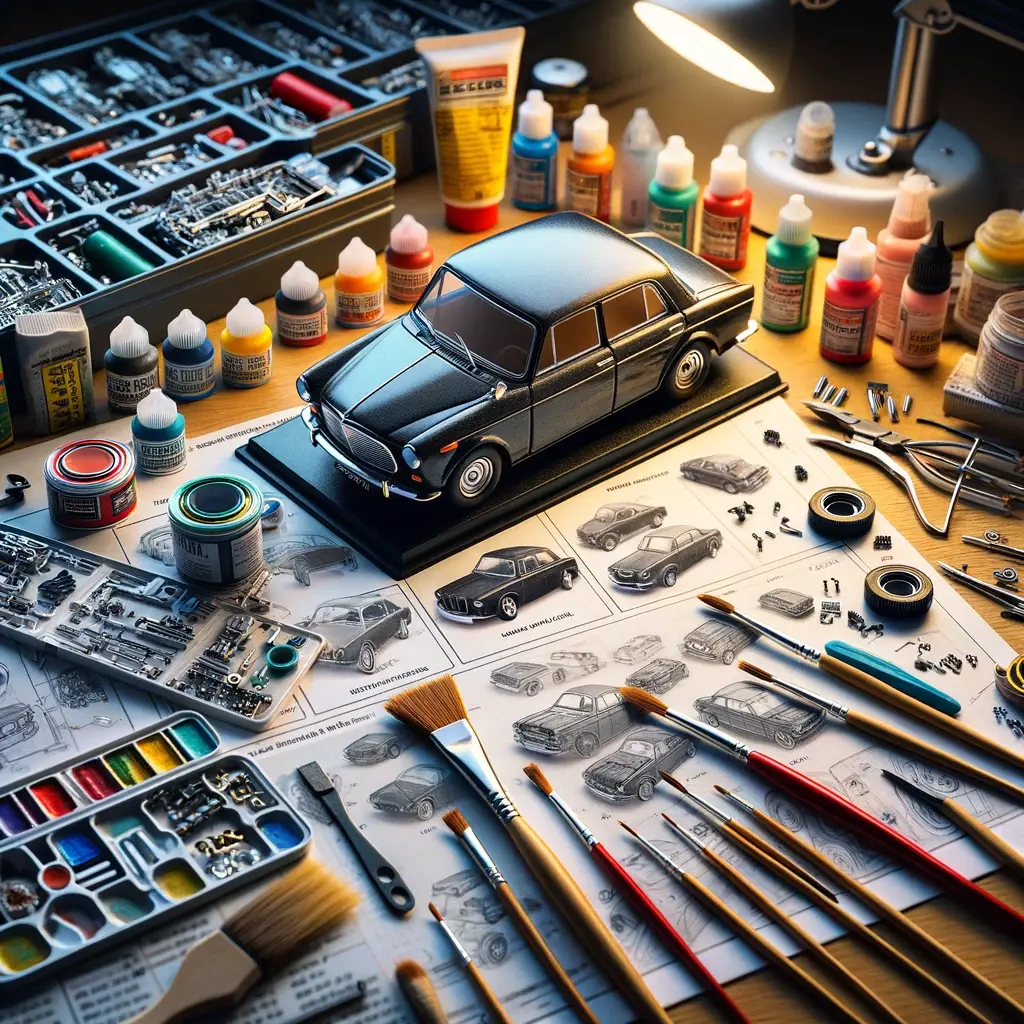
Step 2: Gather Materials and Tools
Before you dive into the customization process, gather the necessary materials and tools. You’ll need:
– A die-cast model car kit in the chosen scale.
– Sandpaper of varying grits (ranging from coarse to fine).
– Model primer.
– Paints (acrylic or enamel).
– Brushes and/or airbrush equipment.
– Masking tape.
– Decals (if applicable).
– Clear coat or varnish for finishing.
– Safety gear (gloves, safety glasses, and a well-ventilated workspace).
Step 3: Prepare the Model
Start by carefully removing the model car from its packaging. Inspect it for any imperfections, and use sandpaper to smooth out any rough edges or seams. Sanding is a crucial step to ensure a smooth, even finish when you paint your model.
Step 4: Prime the Model
Apply a thin coat of model primer to the entire model. Primer helps the paint adhere better and ensures a uniform surface for painting. Let the primer dry completely before moving on.
Step 5: Paint Your Model
This step allows you to bring your car’s unique colors and features to life. Use reference photos of your car for accuracy. Apply the paint using brushes or an airbrush, working from the larger areas to the finer details. Be patient and apply multiple thin coats for a professional finish. Don’t forget to let each coat dry before applying the next.
Step 6: Apply Decals (If Applicable)
If your car has specific decals or markings, carefully apply them according to your reference photos. Use masking tape to ensure precise placement and protect the surrounding areas from unintended paint overspray.
Step 7: Clear Coat for Protection
Once you’re satisfied with the paint job and any decals, apply a clear coat or varnish to protect the finish and provide a glossy shine. Allow the clear coat to dry thoroughly.
Step 8: Final Touches
Inspect your custom die-cast model carefully for any imperfections or areas that need touching up. Use fine-grit sandpaper and paint to address any issues.
Step 9: Display with Pride
With your custom die-cast model now complete, find the perfect display spot to showcase your creation. Whether it’s on a shelf, in a display case, or as part of a larger collection, your custom model will be a source of pride for any car enthusiast.
Conclusion
Creating custom die-cast models of your own cars is a rewarding and satisfying hobby. With the right scale, materials, and tools, you can transform a basic model into a stunning replica of your beloved vehicle. Whether you’re a seasoned modeler or a beginner, following these steps will help you bring your automotive passion to life in miniature form. Enjoy the process, and happy modeling!